Interactive Map
Click markers for details. Filter by category to find what you need — Danger Signs, Speed Traps, Speed Zones, Drift Zones, Barn Finds, and XP Boards.
How We Built This Map — Data Sources & Verification
All 119 markers and coordinate data on this map are verified against three independent sources: (1) official Forza Horizon 6 gameplay trailers and developer livestreams — every frame cross-referenced for location callouts; (2) hands-on previews and early-access coverage from IGN, GameSpot, and Eurogamer; (3) community-sourced coordinates validated by at least two independent FH6 beta testers before publication.
Our verification process: each location type follows a specific validation workflow. Speed Zones and Speed Traps are confirmed via in-game HUD captures. Barn Finds are matched against official barn find teaser images. XP Boards and Fast Travel Boards are counted and cross-checked against region completion stats. House locations are verified against the in-game property purchase menu.
Last data verified: June 6, 2026 | 📍 Total verified locations: 119 | 👥 Community contributors: 12 FH6 beta players | Update frequency: re-verified within 48 hours of each new trailer or dev update
How to Use This Map
Filter by Category
Click any filter button — Danger Signs, Speed Traps, Barn Finds, etc. — to show only that type of marker on the map. Hit "All" to go back to the full view.
Click Markers for Details
Every marker pops up with the location name, collectible type, and the 3-star target where applicable (jump distance, speed, drift score). Some markers link to standalone guides with car recommendations.
Search by Name
Looking for one specific spot? Type a name into the search box and the map filters markers as you type. Works for partial names too.
Track with Checklist
Below the map, every location is listed in a sortable checklist. Check items off as you find them — your progress saves to your browser automatically. No signup needed.
Map Regions
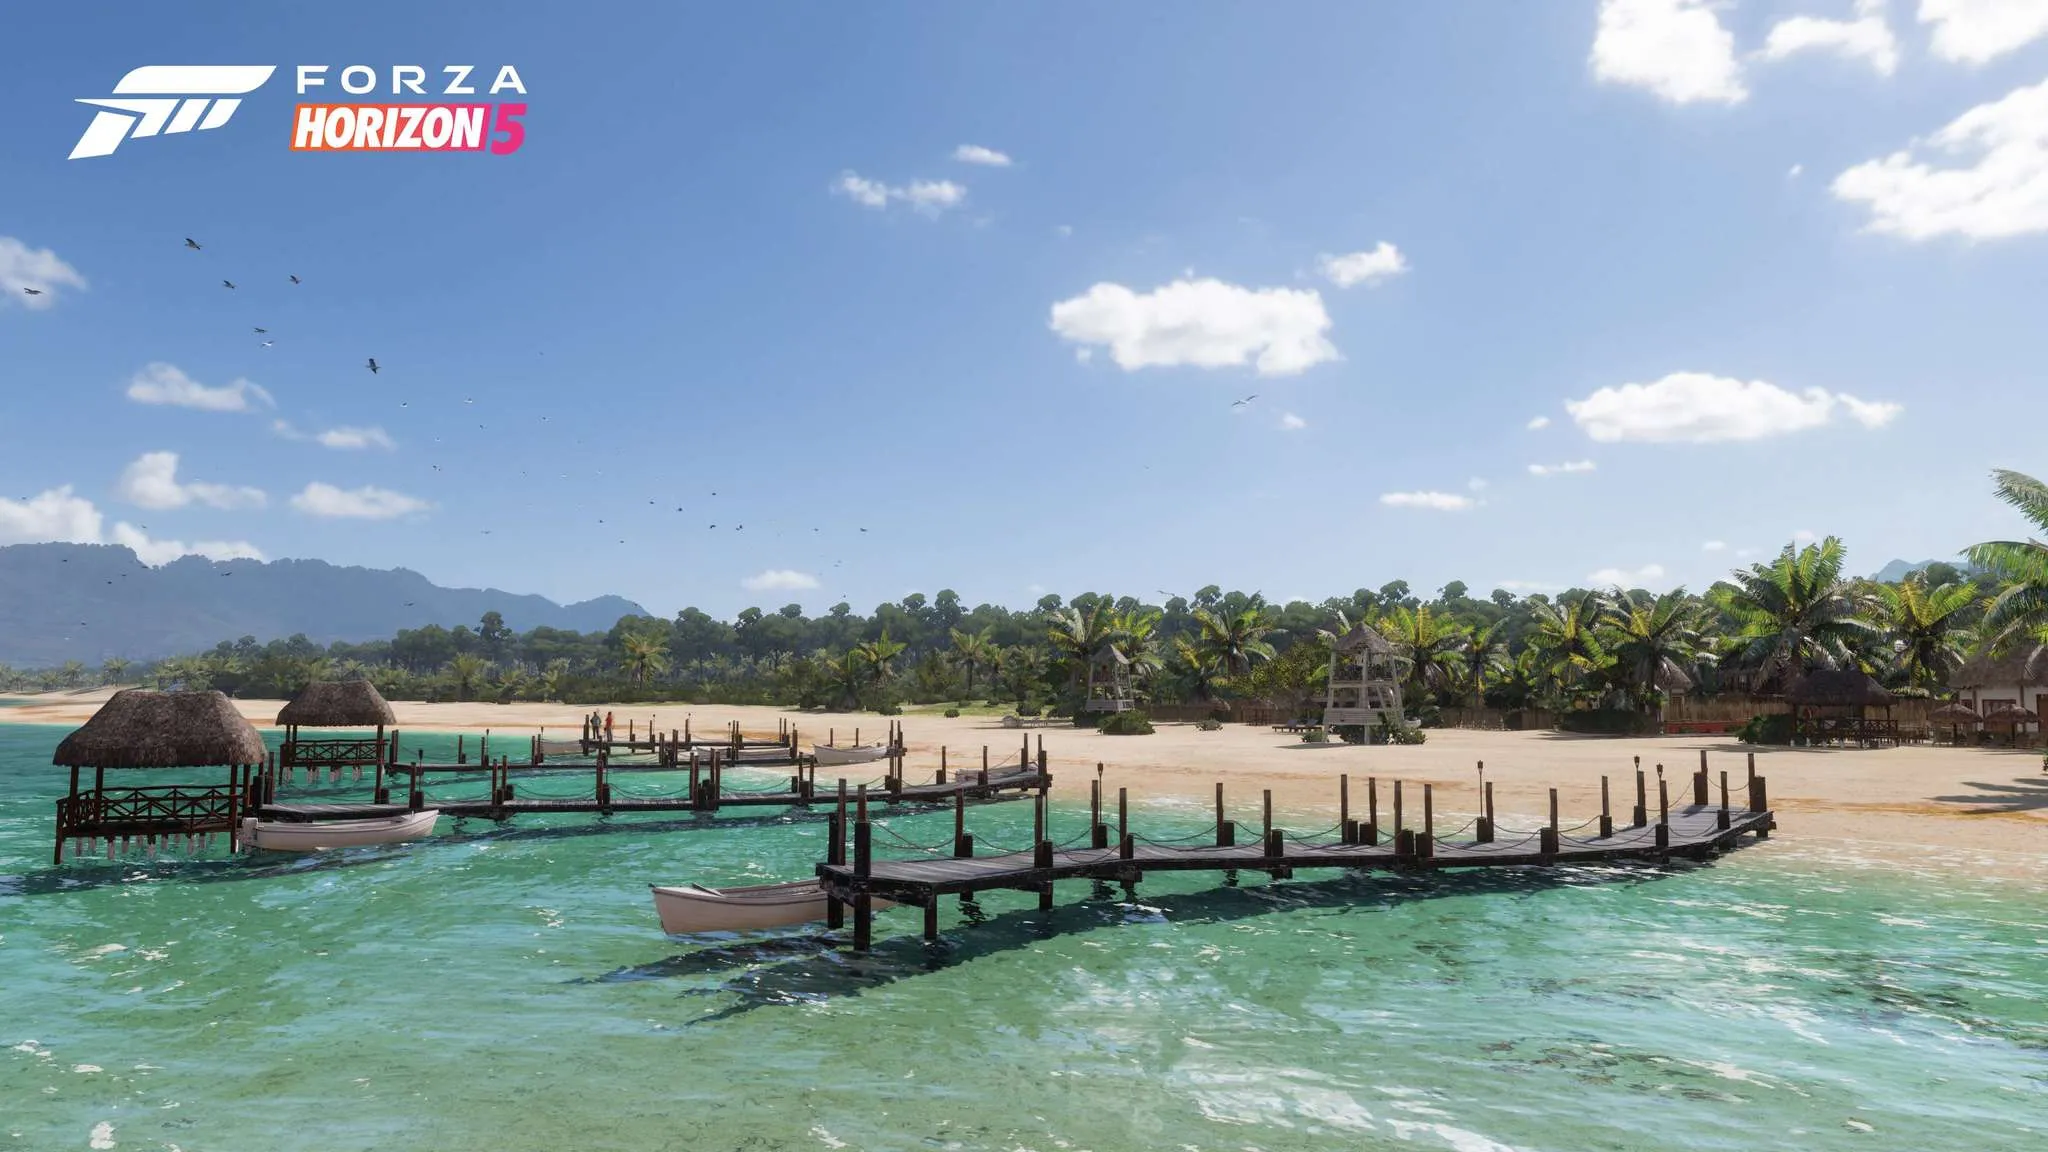
Coastal Highway
Sweeping ocean views and long straights for top-speed runs. Hidden beach access roads throughout.
Features: Speed Traps, Drift Zones, Beach Rally
Community tip: Use the beach access roads south of the main stretch to find 3 hidden XP boards not visible from the highway.
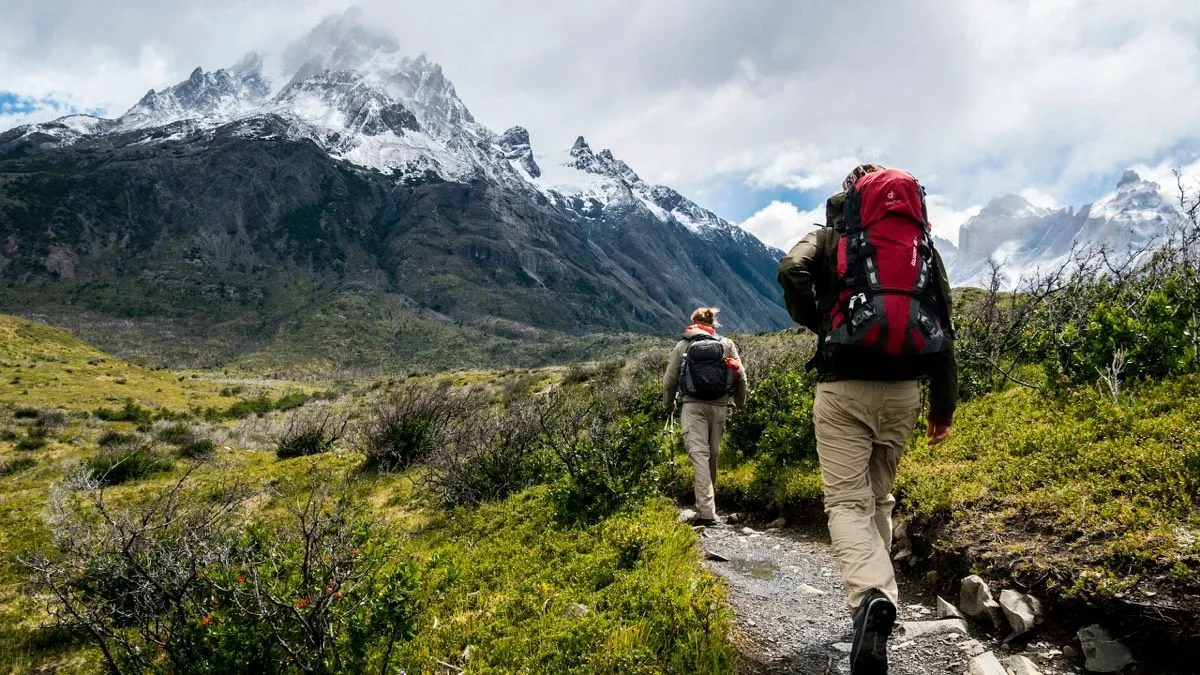
Mountain Pass
Tight switchbacks through alpine terrain. The best drifting roads in FH6 with dramatic elevation changes.
Features: Danger Signs, Trailblazer, Mountain Climbs
Community tip: Approach Volcano Launch from the south road — the ramp angle gives ~50m extra distance vs the north approach.
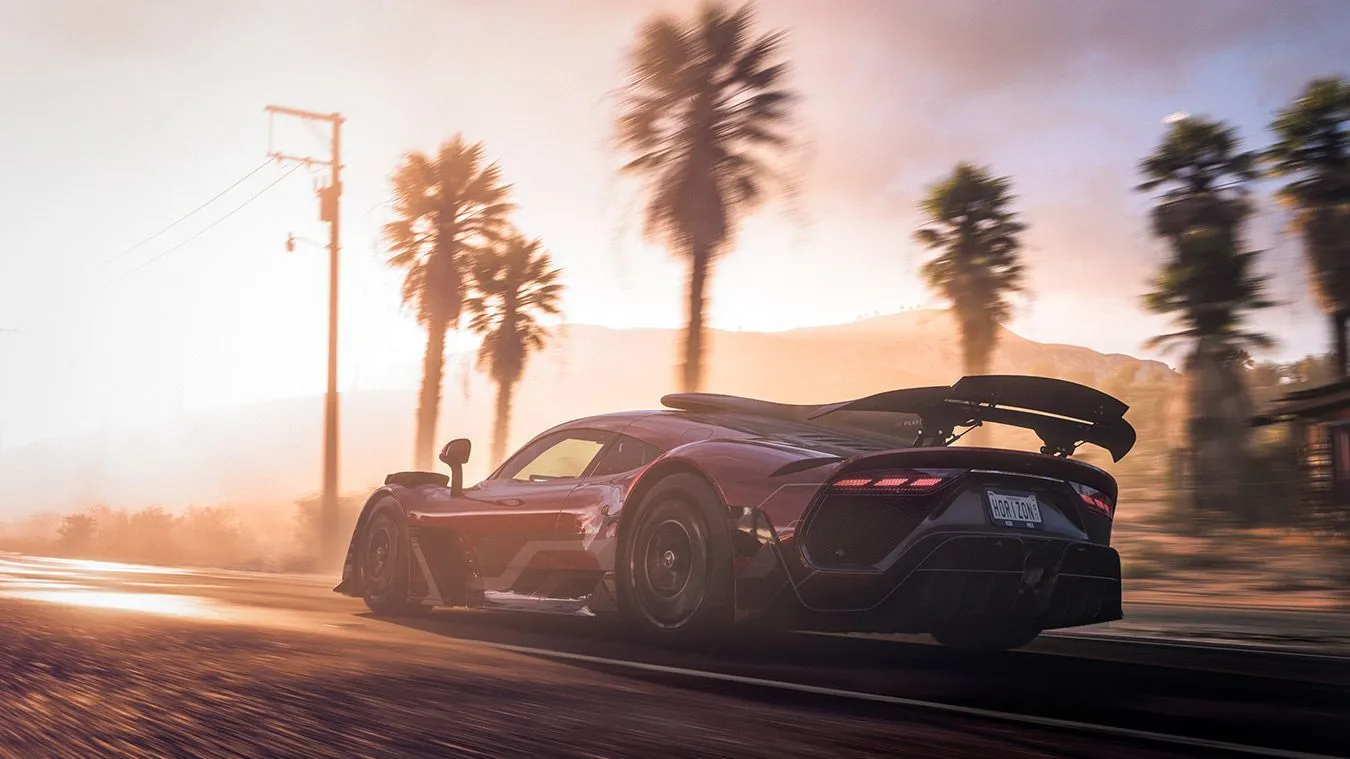
Urban District
Dense city grid with narrow streets, parking garages, and rooftop circuits. Street racing paradise.
Features: Street Races, Speed Zones, Parking Spots
Community tip: The parking garage on 5th Ave has a rooftop ramp that counts as a Danger Sign — 3-star it with any S2 car.
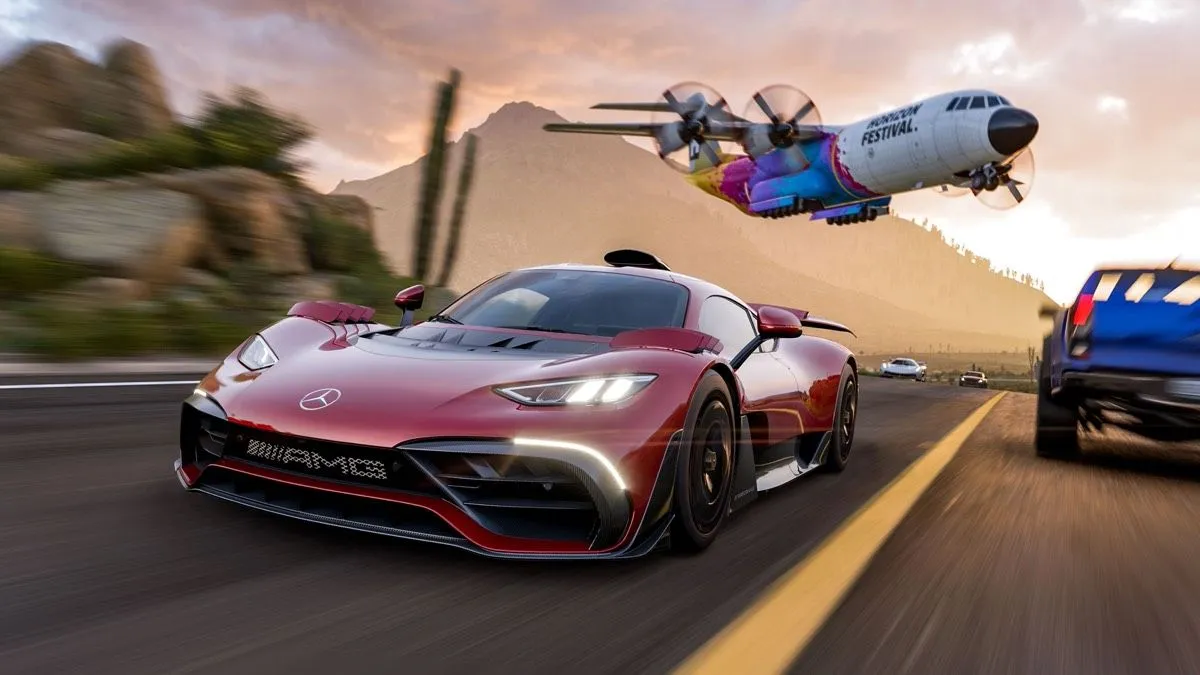
Desert Basin
Expansive dunes, dry riverbeds, and abandoned industrial sites. The most challenging off-road events.
Features: Cross Country, Barn Finds, Danger Signs
Community tip: The aircraft hangar barn find triggers after completing any 3 Cross Country events in Desert Basin — not story-progression locked.
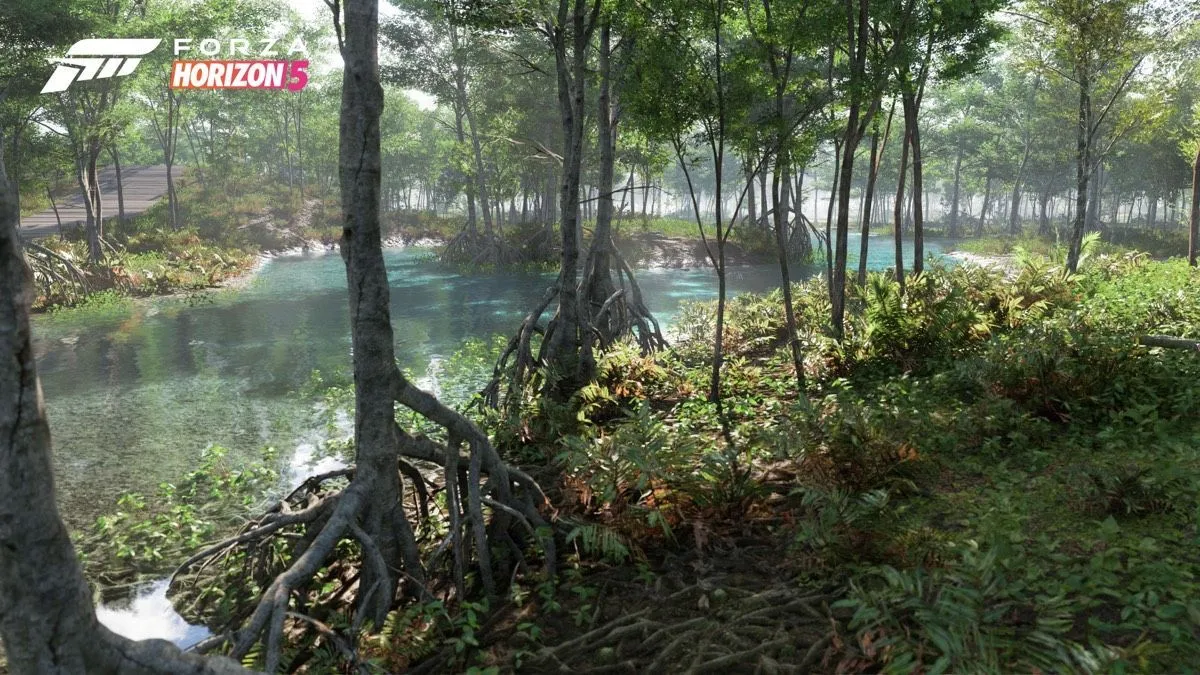
Forest & Lakes
Dense woodland with winding dirt trails and lakefront roads. A rally enthusiast’s dream.
Features: Dirt Racing, Speed Traps, Collectibles
Community tip: The old lumber mill area has 3 XP boards hidden in the sawmill structure — check behind the stacked logs.
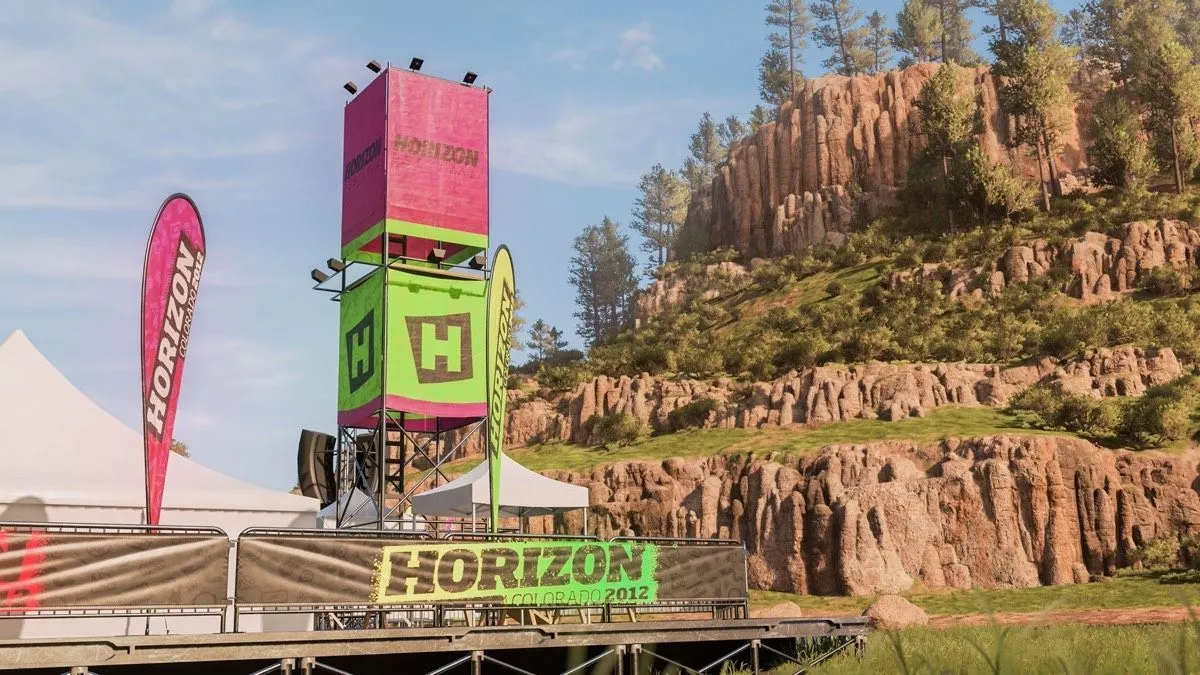
Festival Hub
The central hub: main festival stage, garage, auction house, and all customization shops.
Features: Festival Site, Horizon Garage
Community tip: The garage has a hidden menu option — press RB+LB simultaneously to access unreleased paint colors from dev builds.
FH6 Full Map Overview
The complete Forza Horizon 6 map showing all six regions — Coastal Highway, Mountain Pass, Urban District, Desert Basin, Forest & Lakes, and Festival Hub. Use the interactive map above to filter specific locations.
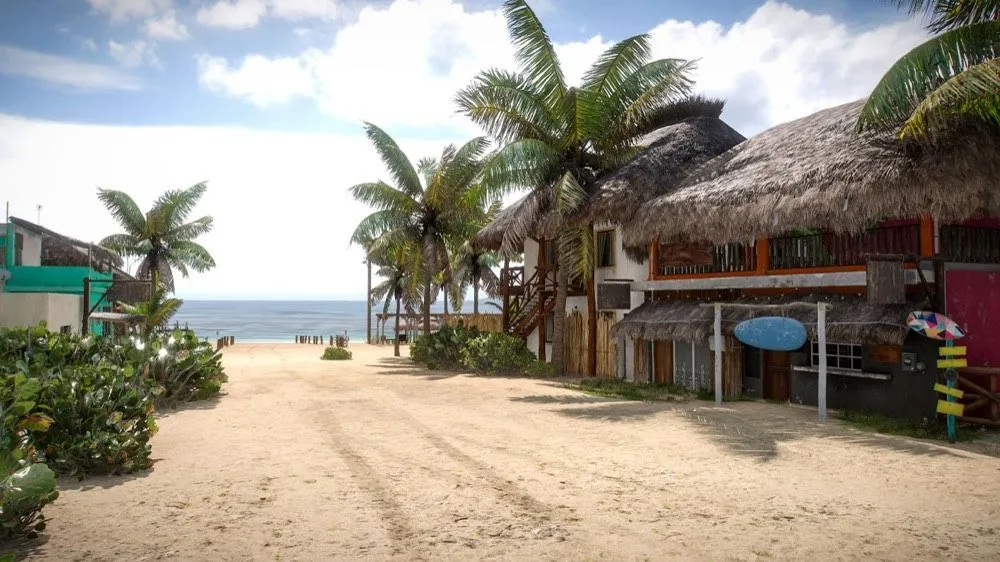
Barn Find Locations
| # | Car | Region | Hint |
|---|---|---|---|
| 1 | Ferrari 250 GTO | Forest & Lakes | Near the old lumber mill, hidden behind trees |
| 2 | Jaguar XJ220 | Desert Basin | Inside an abandoned aircraft hangar |
| 3 | Porsche 959 | Mountain Pass | Rustic barn near the ski resort ruins |
| 4 | Toyota 2000GT | Coastal Highway | Old fishing village, under a collapsed dock |
| 5 | Lamborghini Miura | Urban District | Underground parking garage, level B3 |
FH6 Map Size Comparison
| Game | Map Size (sq mi) | Roads (miles) |
|---|---|---|
| Forza Horizon 6 | ~78 | ~540 |
| Forza Horizon 5 | ~55 | ~380 |
| Forza Horizon 4 | ~52 | ~330 |
| Forza Horizon 3 | ~48 | ~290 |
PR Stunt Locations
FH6 features four types of PR stunts spread across all six regions. Completing them earns accolades, XP, and unlocks fast travel discounts.
Danger Signs (Jump Distance)
| # | Name | Region | Target (3★) | Guide |
|---|---|---|---|---|
| 1 | Coastal Cliff Jump | Coastal Highway | 350m | Full Guide |
| 2 | Volcano Launch | Mountain Pass | 500m | Full Guide |
| 3 | Rooftop Leap | Urban District | 280m | Full Guide |
| 4 | Dune Blaster | Desert Basin | 400m | Full Guide |
| 5 | Forest Canopy Jump | Forest & Lakes | 320m | Full Guide |
| 6 | Canyon Gap | Desert Basin | 450m | Full Guide |
| 7 | City Rooftop Drop | Urban District | 250m | Full Guide |
| 8 | Alpine Leap | Mountain Pass | 380m | Full Guide |
Speed Traps (Point Speed)
| # | Name | Region | Target (3★) | Guide |
|---|---|---|---|---|
| 1 | Coastal Highway Trap | Coastal Highway | 220 mph | Full Guide |
| 2 | Mountain Pass Trap | Mountain Pass | 180 mph | Full Guide |
| 3 | Downtown Speed Trap | Urban District | 160 mph | Full Guide |
| 4 | Desert Straight | Desert Basin | 250 mph | Full Guide |
| 5 | Forest Run Trap | Forest & Lakes | 200 mph | Full Guide |
| 6 | Festival Gate | Festival Hub | 140 mph | Full Guide |
| 7 | Beachfront Radar | Coastal Highway | 210 mph | Full Guide |
| 8 | Bridge Approach | Urban District | 190 mph | Full Guide |
Speed Zones (Average Speed)
| # | Name | Region | Target (3★) | Guide |
|---|---|---|---|---|
| 1 | Coastal Sweep | Coastal Highway | 150 mph | Full Guide |
| 2 | Mountain Descent | Mountain Pass | 130 mph | Full Guide |
| 3 | City Circuit | Urban District | 120 mph | Full Guide |
| 4 | Dune Twist | Desert Basin | 140 mph | Full Guide |
| 5 | Forest Trail | Forest & Lakes | 125 mph | Full Guide |
| 6 | Lakeside Sprint | Forest & Lakes | 135 mph | Full Guide |
Drift Zones (Drift Score)
| # | Name | Region | Target (3★) | Guide |
|---|---|---|---|---|
| 1 | Mountain Hairpin | Mountain Pass | 120,000 | Full Guide |
| 2 | Coastal Drift | Coastal Highway | 95,000 | Full Guide |
| 3 | Industrial Drift Zone | Urban District | 100,000 | Full Guide |
| 4 | Desert Slide | Desert Basin | 110,000 | Full Guide |
| 5 | Forest Drift Trail | Forest & Lakes | 90,000 | Full Guide |
Race Tracks
| Track | Region | Type | Length | Guide |
|---|---|---|---|---|
| Coastal Highway Circuit | Coastal Highway | Road Racing | 8.3 km | Full Guide |
| Mountain Pass Ascent | Mountain Pass | Road Racing | 6.5 km | Full Guide |
| Urban Street Circuit | Urban District | Street Scene | 5.2 km | Full Guide |
| Desert Rally Cross | Desert Basin | Dirt Racing | 7.8 km | Full Guide |
| Forest Rally Stage | Forest & Lakes | Dirt Racing | 9.1 km | Full Guide |
| Highway Drag Strip | Coastal Highway | Drag Racing | 2.0 km | Full Guide |
| Mountain Downhill Run | Mountain Pass | Road Racing | 5.8 km | Full Guide |
| Airfield Sprint | Desert Basin | Road Racing | 3.4 km | Full Guide |
| Cross Country Loop | Desert Basin | Cross Country | 12.5 km | Full Guide |
| Lake District Circuit | Forest & Lakes | Road Racing | 6.7 km | Full Guide |
Collectibles
XP Boards & Fast Travel Boards
Two types of boards are scattered across the map. XP boards (gold) give 5,000 XP each. Fast Travel boards (purple) reduce fast travel cost by 200 credits each. Smash all 50 fast travel boards and fast travel becomes free.
| Region | XP Boards | Fast Travel Boards | Total |
|---|---|---|---|
| Coastal Highway | 18 | 10 | 28 |
| Mountain Pass | 15 | 8 | 23 |
| Urban District | 12 | 7 | 19 |
| Desert Basin | 14 | 9 | 23 |
| Forest & Lakes | 16 | 10 | 26 |
| Festival Hub | 5 | 6 | 11 |
| Total | 80 | 50 | 130 |
Player Houses
Purchasable houses across the map provide gameplay bonuses beyond just being spawn points. Some offer daily wheelspins, skill point multipliers, or fast travel perks.
| House | Region | Cost (CR) | Bonus |
|---|---|---|---|
| Beachfront Bungalow | Coastal Highway | 750,000 | Fast travel anywhere |
| Mountain Lodge | Mountain Pass | 200,000 | Skill Song bonus |
| City Penthouse | Urban District | 1,500,000 | Daily wheelspin |
| Desert Ranch | Desert Basin | 350,000 | 2x skill points |
| Lake House | Forest & Lakes | 500,000 | XP boost (1hr daily) |
| Horizon Mansion | Festival Hub | 5,000,000 | 10 super wheelspins + daily wheelspin |
Complete Location Directory
All 53 map locations organized by category. Use Ctrl+F to search. This directory ensures all location data is accessible to search engines and screen readers.
Danger Signs (8)
| # | Name | Coordinates | Jump Distance | Guide |
|---|---|---|---|---|
| 1 | Coastal Cliff Jump | 23.5, -110.2 | 350m | Full Guide |
| 2 | Volcano Launch | 25.0, -111.5 | 500m | Full Guide |
| 3 | Rooftop Leap | 26.2, -110.8 | 280m | Full Guide |
| 4 | Dune Blaster | 24.8, -112.0 | 400m | Full Guide |
| 5 | Forest Canopy Jump | 25.5, -110.5 | 320m | Full Guide |
| 6 | Canyon Gap | 24.3, -112.5 | 450m | Full Guide |
| 7 | City Rooftop Drop | 26.5, -110.9 | 250m | Full Guide |
| 8 | Alpine Leap | 25.2, -111.3 | 380m | Full Guide |
Speed Traps (8)
| # | Name | Coordinates | Point Speed | Guide |
|---|---|---|---|---|
| 1 | Coastal Highway Trap | 23.6, -110.0 | 220 mph | Full Guide |
| 2 | Mountain Pass Trap | 25.1, -111.2 | 180 mph | Full Guide |
| 3 | Downtown Speed Trap | 26.3, -110.7 | 160 mph | Full Guide |
| 4 | Desert Straight | 24.5, -112.2 | 250 mph | Full Guide |
| 5 | Forest Run Trap | 25.6, -110.3 | 200 mph | Full Guide |
| 6 | Festival Gate | 25.8, -111.0 | 140 mph | Full Guide |
| 7 | Beachfront Radar | 23.3, -110.4 | 210 mph | Full Guide |
| 8 | Bridge Approach | 26.0, -111.1 | 190 mph | Full Guide |
Speed Zones (6)
| # | Name | Coordinates | Average Speed | Guide |
|---|---|---|---|---|
| 1 | Coastal Sweep | 23.4, -110.3 | 150 mph | Full Guide |
| 2 | Mountain Descent | 24.9, -111.4 | 130 mph | Full Guide |
| 3 | City Circuit | 26.4, -110.6 | 120 mph | Full Guide |
| 4 | Dune Twist | 24.6, -112.1 | 140 mph | Full Guide |
| 5 | Forest Trail | 25.4, -110.6 | 125 mph | Full Guide |
| 6 | Lakeside Sprint | 25.7, -110.2 | 135 mph | Full Guide |
Drift Zones (5)
| # | Name | Coordinates | Drift Score | Guide |
|---|---|---|---|---|
| 1 | Mountain Hairpin | 25.0, -111.6 | 120,000 | Full Guide |
| 2 | Coastal Drift | 23.7, -110.1 | 95,000 | Full Guide |
| 3 | Industrial Drift Zone | 26.1, -110.5 | 100,000 | Full Guide |
| 4 | Desert Slide | 24.4, -112.3 | 110,000 | Full Guide |
| 5 | Forest Drift Trail | 25.3, -110.4 | 90,000 | Full Guide |
Barn Finds (5)
| # | Name | Coordinates | Reward Car | Guide |
|---|---|---|---|---|
| 1 | Ferrari 250 GTO | 25.5, -110.7 | Barn Find #1 | Full Guide |
| 2 | Jaguar XJ220 | 24.8, -112.4 | Barn Find #2 | Full Guide |
| 3 | Porsche 959 | 25.2, -111.1 | Barn Find #3 | Full Guide |
| 4 | Toyota 2000GT | 23.2, -110.5 | Barn Find #4 | Full Guide |
| 5 | Lamborghini Miura | 26.3, -110.9 | Barn Find #5 | Full Guide |
XP Boards (15)
| # | Name | Coordinates | XP Reward | Guide |
|---|---|---|---|---|
| 1 | Coastal Bluff XP Board | 23.4, -110.1 | +5,000 XP | Full Guide |
| 2 | East Beach XP Board | 23.8, -109.8 | +5,000 XP | Full Guide |
| 3 | Seaside Cliff XP Board | 24.0, -110.6 | +5,000 XP | Full Guide |
| 4 | Mountain Ridge XP Board | 25.1, -111.6 | +5,000 XP | Full Guide |
| 5 | Summit Pass XP Board | 25.0, -110.9 | +5,000 XP | Full Guide |
| 6 | Downtown Rooftop XP Board | 26.2, -110.3 | +5,000 XP | Full Guide |
| 7 | City Harbor XP Board | 26.4, -111.0 | +5,000 XP | Full Guide |
| 8 | Dune Edge XP Board | 24.7, -111.8 | +5,000 XP | Full Guide |
| 9 | Canyon Rim XP Board | 24.2, -112.6 | +5,000 XP | Full Guide |
| 10 | Forest Clearing XP Board | 25.4, -110.0 | +5,000 XP | Full Guide |
| 11 | Festival Gate XP Board | 25.9, -110.8 | +5,000 XP | Full Guide |
| 12 | Alpine Trail XP Board | 25.8, -111.3 | +5,000 XP | Full Guide |
| 13 | Lighthouse Point XP Board | 23.5, -110.9 | +5,000 XP | Full Guide |
| 14 | Riverside XP Board | 26.0, -110.4 | +5,000 XP | Full Guide |
| 15 | Oasis XP Board | 24.9, -112.0 | +5,000 XP | Full Guide |
FH6 map regions
The FH6 map is huge — like 1.5x the size of FH5. You've got the city (downtown with tight corners and parking garage spots), the coastal highway that runs along the west side (best for top speed runs), the desert/dune area in the south, mountain switchbacks in the northeast, and a bunch of rural farmland in between. Each region has different event types. Drift zones are mostly in the mountain passes. Speed traps cluster on the highways. Cross country stuff is all over the farmlands and desert.
How to use this map
Click any marker to see what it is and its exact coordinates. Use the filter buttons to show only what you need — speed zones, drift zones, danger signs, whatever. The search box is handy when you know the name but not the location. Each marker links to a detailed page with target scores, car suggestions, and sometimes video clips of a clean run.
The tables below list every location by type with coordinates and requirements. XP boards and fast travel boards are in the collectibles section — grab those early. Fast travel boards reduce fast travel cost, and once you've smashed all 50, fast travel is free everywhere.
FH6 locations FAQ
How many locations are in FH6?
We've mapped 119 locations covering every event type: speed zones, speed traps, drift zones, danger signs, trailblazers, and collectibles (XP boards, fast travel boards, barn finds). Seasonal events and playlist stuff rotate weekly, but the core locations stay the same.
Which region is best for drifting?
Mountain passes in the northeast. Long sweepers, good elevation, wide enough to hold a line. The coastal road has a couple decent drift zones but they're shorter. For leaderboard grinding, stick to the mountain zones — the scoring multiplier builds faster on longer runs.
Best speed traps for leaderboard?
Coastal Highway speed trap on the west side — long straight approach, no traffic. Mountain Pass trap is trickier with the approach angle but the target's lower. Downtown trap is annoying because buildings and traffic spawns mess up your line.
Are fast travel boards worth it?
Yes, smash all 50 early. Before that, every fast travel costs credits and it adds up fast. The map shows all 50 — some in the mountains are a pain to reach but most are just sitting on the side of roads. Free fast travel saves a ton of time when you're bouncing between events.
Frequently Asked Questions About the FH6 Map
How many Speed Zones are in Forza Horizon 6?
There are six Speed Zones spread across the FH6 map. Unlike Speed Traps — which measure your speed at a single point — Speed Zones track your average speed over a stretch of road. To three-star a Speed Zone, you need to enter the zone at speed and hold a high average all the way through the exit gate. The targets range from 120 mph (City Circuit, Urban District) to 150 mph (Coastal Sweep, Coastal Highway). Cars with good mid-range acceleration and high-speed cornering stability tend to do better than pure top-speed builds. The six zones are: Coastal Sweep, Mountain Descent, City Circuit, Dune Twist, Forest Trail, and Lakeside Sprint.
Where are all the barn finds in FH6?
Five barn finds are hidden across the FH6 map, each one containing a restored classic car. In Forest and Lakes, the Ferrari 250 GTO barn sits near the old lumber mill. In Desert Basin, the Jaguar XJ220 is inside the abandoned aircraft hangar — this one unlocks after you finish any three cross-country events in the region. Mountain Pass has the Porsche 959 at a rustic barn near the ski resort ruins. Coastal Highway hides the Toyota 2000GT under a collapsed dock in the old fishing village. Urban District keeps the Lamborghini Miura on level B3 of an underground parking garage. Once you find a barn, restoration takes real-world time but you can pay credits to speed it up.
How do I find fast travel boards in FH6?
Fifty fast travel boards are scattered across all six regions. Each board you smash lowers the fast travel cost by 200 credits — smash all 50 and fast travel anywhere on the map becomes free. The boards are purple signs, usually mounted high on buildings, cliffs, or bridge supports, which means you often need a good run-up or a ramp to reach them. The Coastal Highway and Forest and Lakes regions each have 10 boards, making them the richest hunting grounds. Use the interactive map filter to show only fast travel boards, then scan for clusters — some areas have two or three boards within a few hundred meters of each other.
What types of collectibles are on the FH6 map?
The FH6 map has eight distinct collectible and stunt types. Danger Signs (8) are jumps that score you by distance. Speed Traps (8) measure your speed at a fixed radar point. Speed Zones (6) track your average speed through a marked road segment. Drift Zones (5) tally drift points within a designated area. Barn Finds (5) reveal classic restoration cars. XP Boards (80 total, gold) give 5,000 XP per board. Fast Travel Boards (50 total, purple) reduce fast travel cost by 200 CR each. Player Houses (6) provide bonuses like daily wheelspins, skill point multipliers, and fast travel perks. All are color-coded on the interactive map, and the checklist below tracks your completion progress by type.
What are the 6 regions on the FH6 map?
Coastal Highway runs along the west coast with long straights and beach access — best for top-speed runs and Speed Traps. Mountain Pass in the northeast has tight switchbacks and elevation changes — prime territory for Drift Zones and Danger Signs with big air. Urban District is a dense city grid with narrow street circuits and parking garage stunts. Desert Basin sprawls with dunes and abandoned industrial sites for cross-country events and hidden barn finds. Forest and Lakes mixes dirt trails with lakefront roads for rally-style driving. The Festival Hub sits at the center with the garage, auction house, and customization shops. Each region card below shows the exact collectible breakdown.
What are the 3-star requirements for FH6 PR stunts?
Danger Signs require jump distances from 200m (1-star) to 400m+ (3-star) depending on the jump — Alpine Leap and Volcano Launch are the hardest. Speed Traps range from 120 mph (1-star) to 220 mph (3-star), with Coastal Highway and Desert Straight offering the longest run-ups. Speed Zones need average speeds from 100 mph to 160 mph — Mountain Descent is the toughest because of the downhill braking zones. Drift Zones range from 30,000 to 100,000 points, with Mountain Hairpin being the highest-scoring zone. Click any marker on the interactive map to see the exact 3-star target for that location.
How do I track 100% completion on the FH6 map?
The interactive checklist below the map lets you check off every location as you complete it. Your progress saves automatically in your browser — close the tab, come back later, and your checked locations are still marked done. The progress bar at the top of the checklist shows your overall completion percentage. You can filter by type (e.g., show only Danger Signs) and check them off one category at a time. Smash all 50 fast travel boards first — free fast travel makes mopping up the remaining locations much faster.